REVIEW · SANTORINI
Photoshoot in Flying Dresses in Santorini
Book on Viator →Operated by Dresssanto · Bookable on Viator
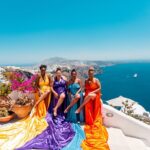
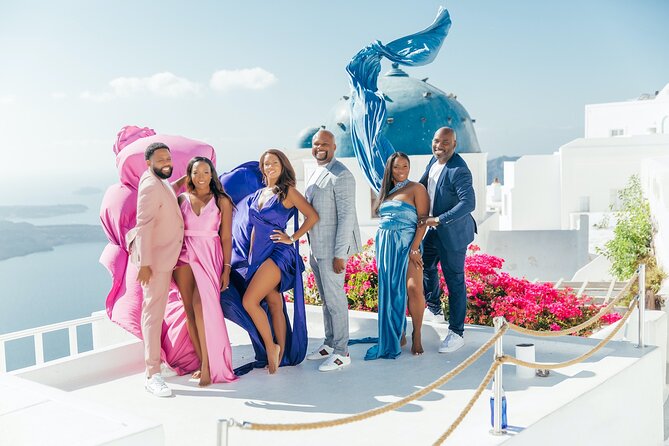
A windy, dreamy photoshoot in Santorini sounds simple, until you see how it’s done. This 1-hour session turns Oia cliffs and Imerovigli views into motion-filled couple memories, with a photographer guiding your poses and an assistant handling the flying-dress moments.
What I like most is the low-stress setup: you get a portable changing room, so you’re not scrambling for privacy. I also like the focus on output: you’ll receive 200–250 JPGs and then a portion gets Lightroom processing (40 for couples, 20 for singles).
One drawback to plan around: the experience is weather- and lighting-dependent, and you’ll be walking around photogenic spots on an island that can be hot—especially if you’re booking later in the day.
In This Review
- The best parts, fast
- Santorini Flying Dresses: what makes this shoot work
- Your timeline: 1 hour, two stops, and why timing is everything
- Stop 1: Oia’s viewpoints and the “wind dress” moment
- Stop 2: Imerovigli for softer light and variety
- Flying dress mechanics: why the assistant matters
- Dressing without stress: portable changing room and comfort tips
- The photo numbers: what you actually get and how edits work
- Price and value: is $287.58 a good deal?
- Who should book (and who might rethink it)
- My booking checklist so you don’t waste time
- Should you book this flying dress photoshoot in Santorini?
The best parts, fast
- Portable changing room so you can get ready without hunting for a bathroom or privacy corner
- Up to 250 photos captured in one hour, with Lightroom color + sharpness edits for your favorites
- Two iconic stops (Oia and Imerovigli) that make it easy to get variety in the same session
- Flying-dress technique with an assistant that’s the difference between a posed dress and a true wind moment
- Private group format so you’re not sharing your shoot time with strangers
Santorini Flying Dresses: what makes this shoot work
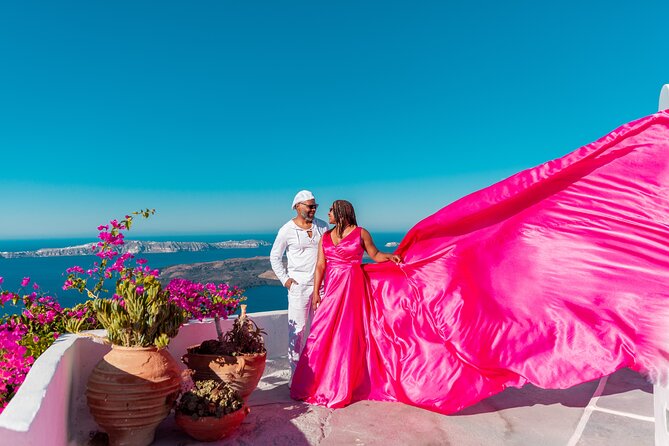
The idea is fun: you wear a Santorini-style dress designed to catch the wind, and you get styled posing directions so you don’t feel like you’re making it up as you go. The practical part is what makes it feel worth your time. This is a guided session, not a “good luck and good photos” situation.
You meet in Imerovigli and then move to two major photo zones: Oia first and Imerovigli second. In one hour, that gives you multiple looks—big cliff drama up high, then the softer, romantic vibe closer to town. If you’re on a tight schedule (cruise day, honeymoon week, quick island hop), packing variety into one shoot is a smart move.
The other thing that matters is comfort. One common worry with these flying-dress sessions is changing stress. Here, the photographer brings a portable changing room, which means you can get into the dress without doing the “change behind something” routine. That also helps keep the session running smoothly, so you spend time posing—not wrestling fabric before the wind even starts.
You can also read our reviews of more tours and experiences in Santorini.
Your timeline: 1 hour, two stops, and why timing is everything
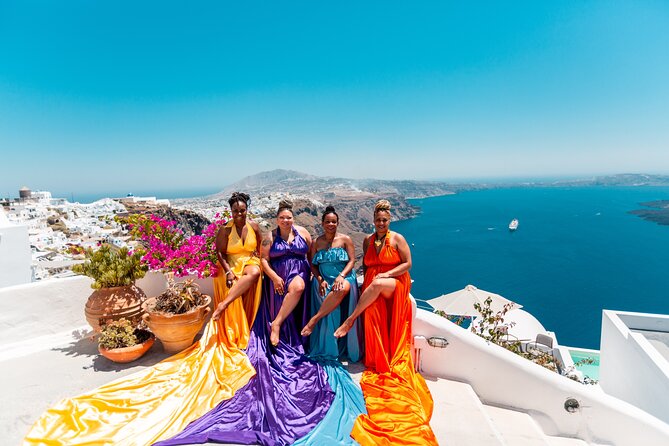
Think of this as a compact, high-focus photo sprint. You’ll have roughly one hour total, split across the Oia and Imerovigli locations. The goal is to get you multiple angles and dress movement moments without dragging the session into the worst of the day.
A strong tip from past guests: book earlier in the morning when possible. Santorini heat can spike fast, and the shoot involves standing, posing, and moving between viewpoints. If you arrive already tired, the wind-and-fabric choreography is harder. Early morning keeps your energy up and helps you look more relaxed in photos.
You’ll also want to bring basics that help you stay in “model mode.” The info recommends sun glasses. I’d also add your own small comfort items if you have them—water is helpful in August heat, and being prepared lets you focus on the poses.
Stop 1: Oia’s viewpoints and the “wind dress” moment
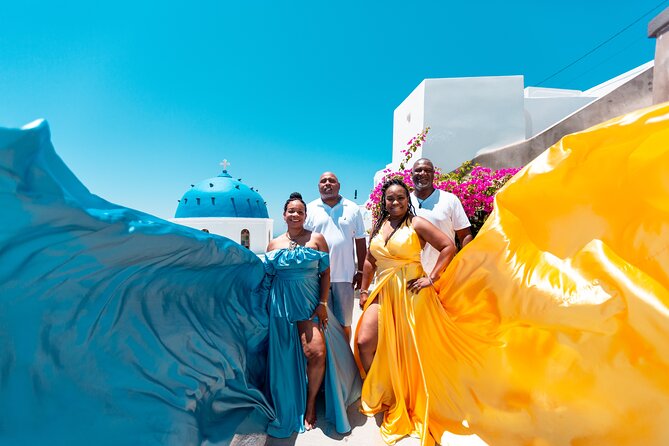
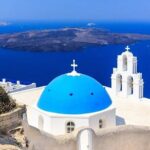
Oia is where Santorini people go to feel like they’re in a movie. In a flying-dress shoot, that’s not just about pretty scenery. Oia gives you two things you can’t easily replicate: open sightlines and a lot of natural wind exposure.
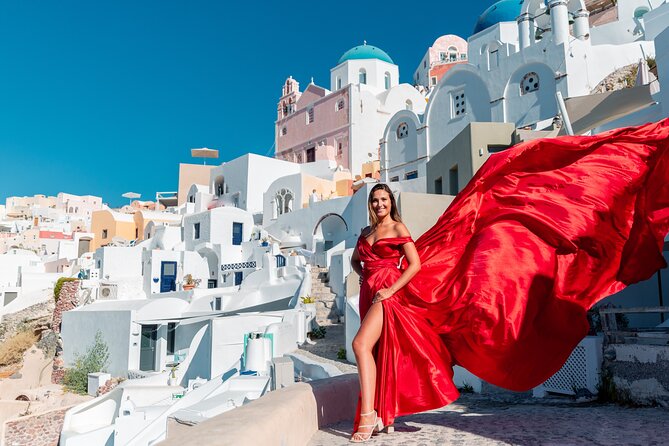
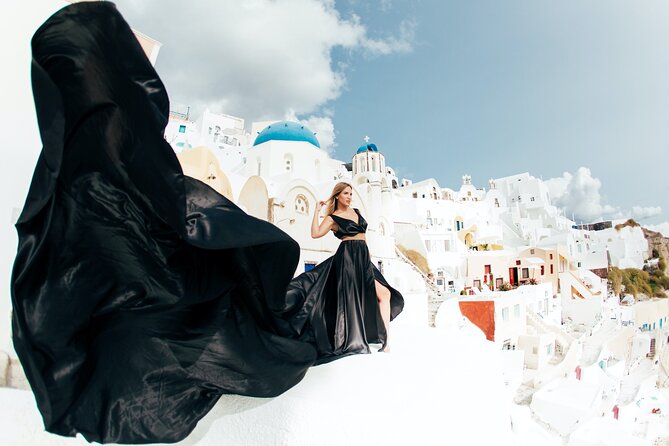
When you see results from these sessions, the best frames usually come from a quick rhythm: pose, rotate slightly, let the fabric catch the air, then hold still for the click moments. The photographer’s job is to direct your body position and camera angles. The assistant’s job is the part you can’t DIY—getting the dress into motion at the right time so the fabric looks intentional rather than messy.
One practical consideration: Oia can be crowded. That’s not a reason to skip it; it’s a reason to trust the process. In a guided shoot, you’re not trying to hunt a private corner. The photographer works around the flow of foot traffic and times the shots so you get that clean, airy look.
Also, wear shoes you can walk in. One guest specifically warned that the cobblestones can be brutal. The best strategy is to wear sturdy footwear for moving between spots, then switch to your dress/shoot shoes once you’re at the main viewpoint.
Stop 2: Imerovigli for softer light and variety
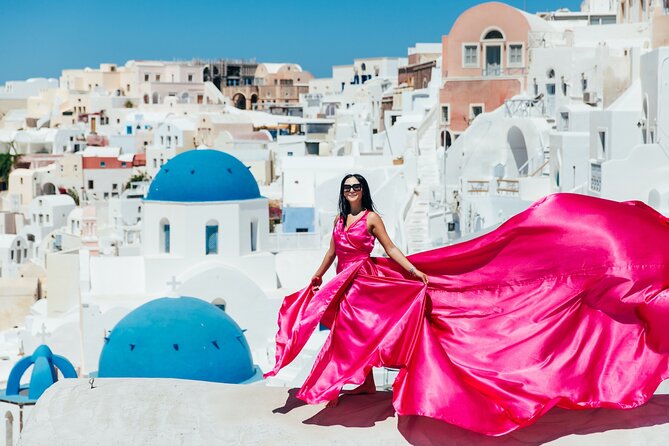
After Oia, the session shifts to Imerovigli, which often feels calmer and more intimate for photos. If Oia gives you drama and height, Imerovigli helps soften the look and adds variety without adding extra travel time.
This is where you can get more “romantic couple” framing: gentle turning poses, close-to-camera expressions, and full-body shots where the dress movement is still visible but you’re not only relying on the tallest cliff edge.
Imerovigli is also practical for the logistics of the meeting point. You start and end around Imerovigli (the activity returns to the meeting point). So you’re not constantly losing time backtracking across the island.
If your goal is a full set that covers different moods—hero shots, sweet close-ups, and wind-forward full frames—using Oia and Imerovigli in one session makes sense. It’s a tidy way to avoid repeating the same background over and over.
Flying dress mechanics: why the assistant matters
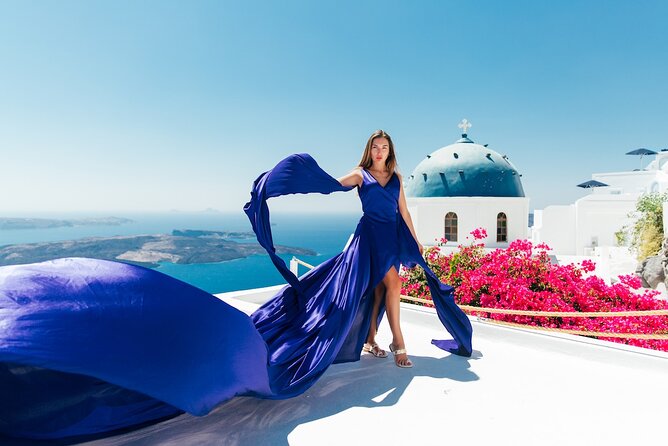
This is the real secret sauce. The dress is designed to move, but getting it to move at the right angle, with the right timing, is a skill. Past guests repeatedly highlighted how important the assistant role is for the flying part.
For couples, the included package covers one flying dress. For solo shoots, dress rental is not included, and the assistant piece is also not automatically included in the base “not included” list. That means if you want the wind action done well, you should plan on paying for it depending on your situation.
If you’re tempted to skip the assistant to save money, consider what you’re actually buying: you’re not just buying photos, you’re buying the ability to make the dress look like it’s floating. Without the assistant’s hands-on help, you often get fabric motion that looks accidental. With the assistant, you get repeatable movement that matches the photographer’s shot planning.
One solo guest even mentioned they’d paid extra for the assistant and dress rental. I can’t promise all costs will match, but the takeaway is consistent: the flying-dress effect is a team effort, not a one-person trick.


Dressing without stress: portable changing room and comfort tips
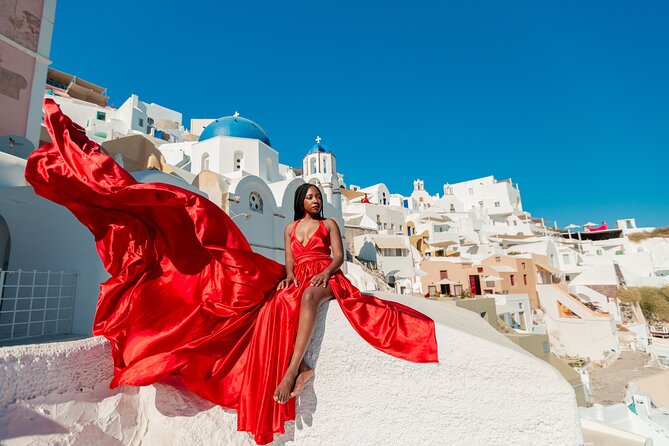
A flying dress session asks you to move, shift positions, and wear something that may feel snug. The good news is that you don’t have to change in public. The setup includes a portable changing room for convenience during the shoot.
Guests described it as covered and practical, and the photographer helps with tying and adjustments. That matters because small fit tweaks can change everything in a photo: how the dress sits, how it drapes, and how smoothly it catches wind.
A few comfort tips that come straight from real-world feedback:
- Bring or plan for sweat management in the heat; one guest mentioned the team dabbed sweat during the session.
- Expect some extra attention around bra/strap placement. One guest noted that for their shoot, it did not require a bra, while also mentioning pins for certain display needs. So be ready for adjustment work.
- If you’re not used to high-ankle walking on cobblestones, stick to walking shoes for moving and switch closer to the shooting spot.
The overall point: the experience is designed to reduce stress, but it still involves physical coordination. The more comfortable you are during changing and movement, the better you’ll look during posing.
The photo numbers: what you actually get and how edits work
Here’s the part to read carefully, because this is where value gets real.
You’ll receive:
- 200–250 JPGs (captured during the hour)
- Lightroom processing that includes color correction, contrast, and sharpness
- For couples: around 40 photos processed in Lightroom
- For singles: around 20 photos processed
That means you’re not getting 200+ heavily edited images. You’re getting a large proof set, and then a curated set gets the full treatment. The photographer will shoot up to 250 frames, you pick favorites, and then the editing work happens for your chosen set.
One reason this system works well for couples and honeymoon shots: it saves you from over-editing everything and lets the team focus on the photos that best tell the story. If you’re sensitive about not liking your face in every image (normal human), the proof set gives you a safety net—then you choose what you want polished.
One more practical detail: some guests mentioned they receive proofs quickly and then the final edits later, while others reported delays. So plan your expectations. If you have a deadline (engagement announcement, wedding timeline), reach out early with your booking so you’re not stuck waiting.
Price and value: is $287.58 a good deal?
At $287.58 per person, this sits in the “worth it if you care about photos” category. You’re paying for a guided shoot, iconic locations (Oia plus Imerovigli), and technical deliverables: hundreds of images and a batch of Lightroom edits.
Why it can be good value:
- You’re not paying separately for the posing guidance and the lighting angle planning.
- You’re not paying for a basic photo only—this includes the flying-dress effect, which requires an assistant workflow.
- You’ll leave with a large JPG set plus a processed selection. That gives you both quick “send to family” images and “frame-worthy” results.
Where people should be cautious:
- The base inclusions differ for solo vs couple. Couples get one flying dress included, but a solo session does not include flying dress rental (and the assistant is not listed as included).
- If you add dress rental and assistant time for solo shoots, the total cost can climb fast. One solo guest described additional payments for assistant and dress rental, which is consistent with how these experiences are structured.
If you’re trying to cut every corner, you might feel the price is steep. If you want a low-effort way to end up with high-impact images, the price starts looking more reasonable—especially compared with paying for multiple sessions or trying to negotiate with a random vacation photographer for a moving-dress shot.
Who should book (and who might rethink it)
This flying-dress shoot is perfect if you’re:
- Celebrating a honeymoon, engagement, birthday, or anniversary
- The kind of person who wants a “big moment” photo instead of just a normal vacation snapshot
- Comfortable following direction and posing for about an hour
- Traveling as a couple and want to maximize your time in a single island day
It may be less ideal if you:
- Don’t like walking on uneven cobblestones between viewpoints (some comments flagged difficulty and unsteady walking)
- Are traveling with mobility limitations without confirming the route and pace
- Need guaranteed edited delivery by a specific date (turnaround timing is not stated in the provided details, and experiences reported both fast and slow timelines)
If you do book, the easiest way to get the best outcome is to show up ready: wear shoes for movement, bring your sunglasses, and plan your hair and outfit so you can adjust smoothly during changing.
My booking checklist so you don’t waste time
Before you go, I’d do these small prep steps:
- Plan for heat: if you can choose a time, pick the coolest option available.
- Wear walking-friendly shoes for moving between photo points.
- Bring sunglasses as suggested, and consider a small personal water plan.
- Decide in advance how many “must-have” frames you want (hero couple shots, close-ups, wind movement).
- For solo shoots, expect you may need to budget for dress rental and/or an assistant to get the flying-dress effect.
These steps don’t make the photos “better by magic.” They make it easier to stay relaxed and focused during the one-hour window.
Should you book this flying dress photoshoot in Santorini?
If you want cinematic, wind-filled couple photos in Santorini and you’d rather pay for guidance than gamble on a do-it-yourself setup, I think you’ll be happy booking this. The strongest reasons are practical: the portable changing room, the team approach that makes the dress fly, and the clear deliverables (200–250 JPGs with a processed selection for your favorites).
If you’re on a strict budget or have mobility concerns, slow down and confirm the real total cost for your exact situation (solo vs couple, dress rental, assistant needs) and ask about the walking pace between viewpoints. With that clarity, you can make the call with confidence instead of guesswork.
Either way, Santorini’s wind and light are the star ingredients—this experience is built around capturing them fast.