REVIEW · TENERIFE
Tenerife: Teide Peak Hiking 3715m
Book on GetYourGuide →Operated by Vulcan Walkers · Bookable on GetYourGuide
Teide turns Tenerife into a high-altitude story. I love the 3715m summit payoff: a true 360-degree view over Tenerife and the Atlantic, with volcanic colors under your boots. I also love that the tour pairs a qualified mountain guide with real hiking support like trekking poles and a headlamp.
Just note the pacing and the long return: cable car makes it easier, but hiking down is about 10 km with a 1400 m elevation change, and the guide’s pace can feel quick for the group.
In This Review
- Key highlights that matter before you book
- Teide’s 3,715m summit: the big reason to go
- Permits and timing: how the day stays on schedule
- Cable car down or hike via Montana Blanca
- A guided walk through volcanic colors and changing weather
- What’s included in your pack (and what you must bring)
- Included with your booking
- What you should bring yourself
- Meet your guides: Peter and Evelyn, and why their style matters
- Price and value: is $199 worth it?
- Meeting point and day-of flow: don’t get lost before you start
- Who should book this hike, and who should skip
- Practical tips for photos, comfort, and altitude
- Should you book this Teide Peak Hiking trip?
- FAQ
- How long is the Teide Peak Hiking experience?
- Does the price include the summit permit?
- Can I choose to take the cable car down?
- Is hiking down on foot an option?
- What’s the meeting point?
- What should I bring?
- What equipment is provided?
- What groups is this hike not suitable for?
Key highlights that matter before you book
- Official summit permit so you can go up at the right time
- 360-degree views from Spain’s highest point, over the ocean and neighboring islands
- Guides Peter and Evelyn bring park knowledge and practical route handling
- Traction and winter readiness when snow or ice shows up (spikes/crampons-style help can be needed)
- Small group (max 10) with English, Hungarian, and Spanish
- Two descent choices: cable car down (+24€/person) or hike via Montana Blanca (harder)
Teide’s 3,715m summit: the big reason to go
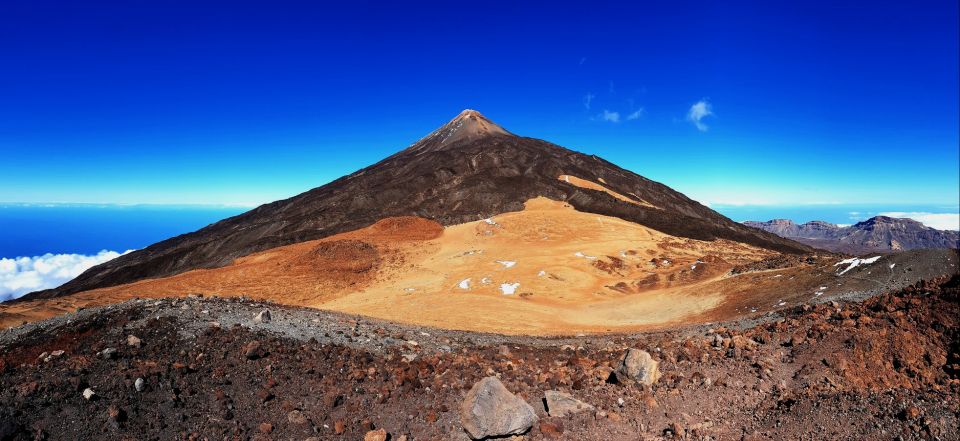
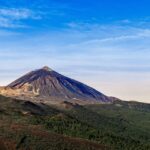
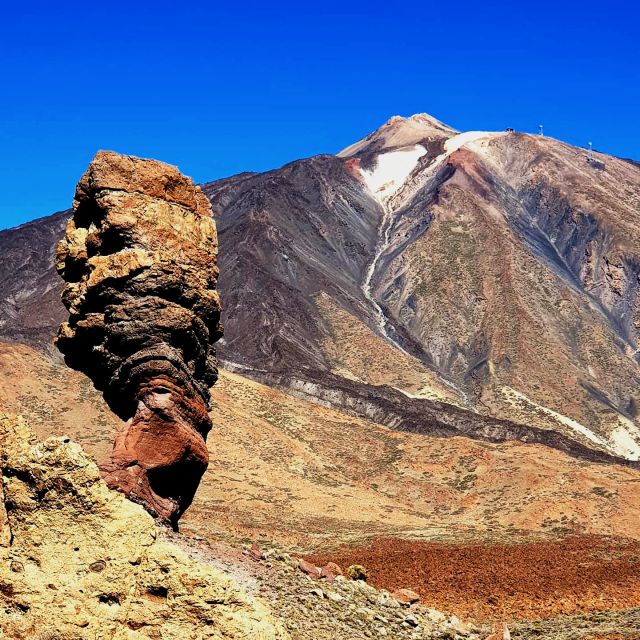
Mount Teide is the kind of hike where the view is not a bonus. It’s the whole point. At the top (3715 m), you get a wide-open panorama that feels almost unreal—like you’re standing above the world looking down on a patchwork of volcanic ground and ocean horizons.
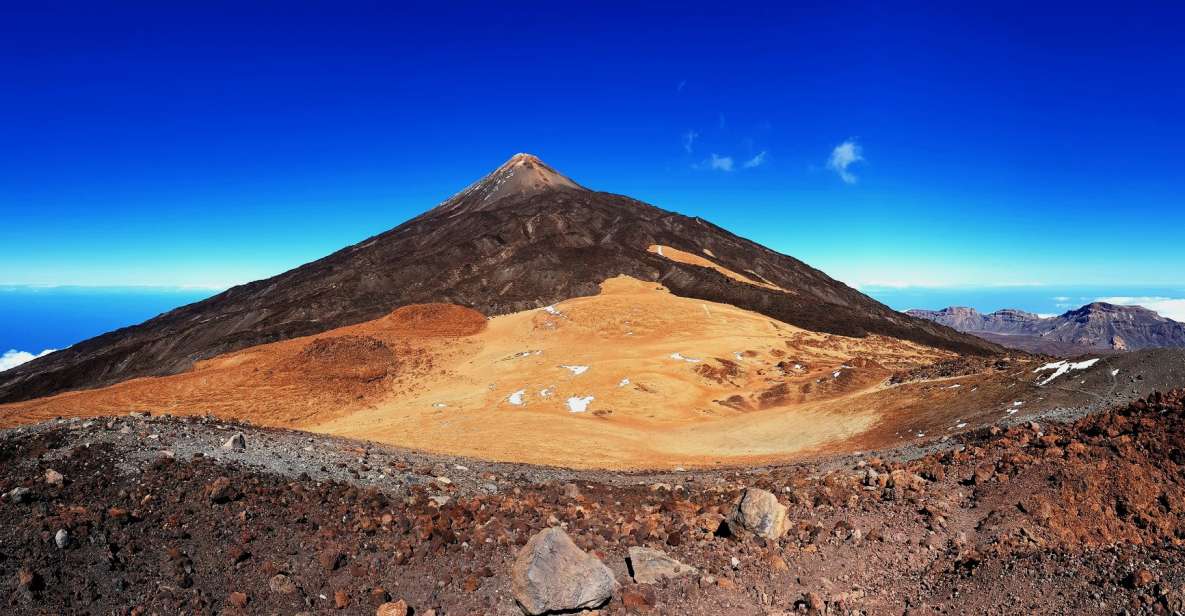
This is also a very visual walk. Even when the weather is doing its own thing, the rocks and sand create strong color changes as you move higher. One of the best parts is how the terrain keeps shifting: you’re never just walking on the same “trail,” you’re reading the volcano as you climb.
And yes, the summit height means this is a serious physical day. It’s not just “a nice walk.” You’ll want to go in with respect for altitude and effort.
You can also read our reviews of more tours and experiences in Tenerife.
Permits and timing: how the day stays on schedule
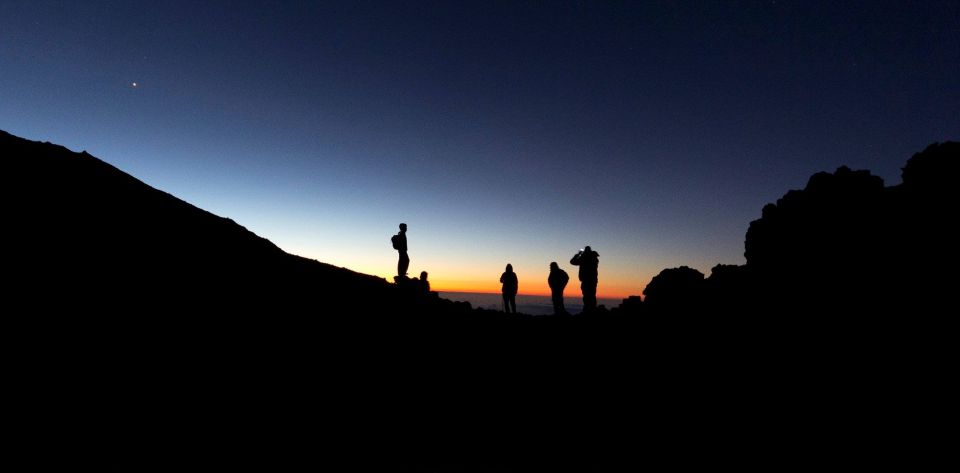
Teide summit access is not one of those free-for-all situations. This hike includes an official permit to reach the peak at a set time. That matters because it shapes how your day unfolds: you’ll climb to the summit as soon as you receive the permit.
In plain terms, it helps keep the experience organized and prevents the chaos that can happen on popular peaks. It also means you’ll be hiking in a focused window, which is great when you want photos and views instead of waiting around.
Your exact meeting time depends on your permit window and the cable car schedule, so expect the day to feel “rhythm-based,” not clock-based. The guide will coordinate the plan around those times.
Cable car down or hike via Montana Blanca
Here’s the fork that decides how hard your day feels.
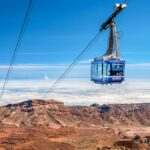
With the cable car, the return is much easier. It’s still a hike day, but the energy you save can turn the second half into a calmer, more enjoyable finish.
Without the cable car, you’re hiking down roughly 10 km with about 1400 m of elevation change via Montana Blanca. That’s a long descent, and it adds up. Even if you feel okay on the way up, the downhill can sap your legs, especially when the ground turns rocky or uneven. One thing I’d take seriously from real-world experience: the descent can stretch out over hours, and when timing runs late you may be walking with a headlamp.
So ask yourself honestly: do you want the climb-and-view experience, or do you want the full grind? Both are valid. But the cable car option is there for a reason.
A guided walk through volcanic colors and changing weather
Teide weather can change faster than you expect. That’s not scary in itself—it’s just reality. In winter conditions, you might encounter snow or ice on the higher sections. One winter example included a short stretch where trekking traction (like spikes) was needed, and another had participants dealing with ice and snow at the summit with the right traction support.
This is where the guide matters. A qualified mountain guide helps you move efficiently, keep your spacing, and make quick calls when the ground gets slick. It’s also where your “bring warm stuff” checklist stops being optional. Cold wind at altitude can drain energy fast.
Also, don’t underestimate the “feel” of altitude. Even though the route is guided, you’ll still want to control your breathing, pace yourself, and take short breaks when the guide pauses the group.
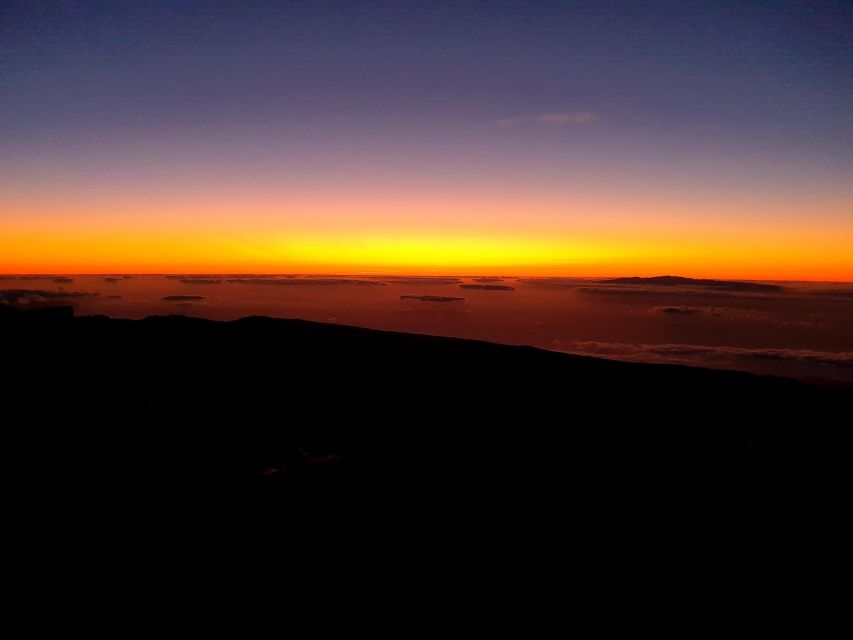
One extra bonus that can happen on this sort of long day: a pause for star observation on the return. It’s not the main reason to go, but it’s a memorable way to see the mountain switch gears from daylight geology to nighttime skies.
What’s included in your pack (and what you must bring)
This trip is set up so you’re not walking in empty-handed.
Included with your booking
You get:
- An official permit for your summit time
- A qualified mountain guide plus liability and accident insurance
- Trekking poles and a headlamp
- Ankle-high hiking boots if needed
- Warm layers like a coat, sweater, hat, and gloves, plus missing equipment for the hike
In real winter conditions, the guide can also supply extra traction when needed—think crampons/spikes type support—so you’re not stuck improvising footwear if the mountain goes icy.
What you should bring yourself
You’ll still want to pack your essentials:
- A daypack
- Sunscreen
- Passport or ID card
- Sportswear plus warm clothing
- Hiking shoes and comfortable shoes
- Food and drinks
- Water
That last part matters more than people think. High altitude and cold wind both reduce your comfort. Fuel and hydration help your legs work better and help you stay steady on descents.
Meet your guides: Peter and Evelyn, and why their style matters
This is a small-group hike, limited to 10 participants, and the guide is doing real work all day: route pacing, safety, and explaining what you’re seeing.
Some guides have a “lecture” style. From the way Peter and Evelyn have led this experience, they bring a more relaxed confidence. You get technical knowledge about the park and volcanic features, but it doesn’t feel like a classroom. It’s information tied to where you stand and what you’re walking over.
At the same time, pace can be a factor. There are reports of the guide walking fairly quickly, and in one case people had difficulty keeping up. If you’re the type who needs a slower cadence, it’s worth considering your own hiking rhythm and choosing the cable car option for the descent to reduce fatigue.
Also, a practical point: your guide will help with equipment during the day if you need it, which reduces stress when conditions are cold or traction is required.
Price and value: is $199 worth it?
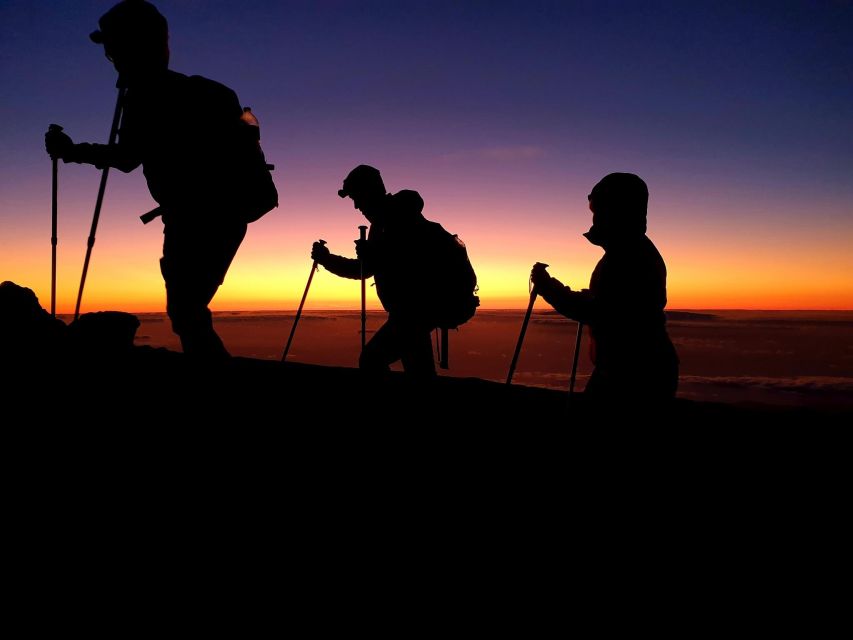
At $199 per person for a 6-hour guided summit hike, the real question isn’t the headline price. It’s what’s included.
You’re paying for:
- The permit to access the summit at a specific time
- A qualified mountain guide
- Insurance
- Equipment support like trekking poles, headlamp, and warm layers
- Help when weather turns tricky (traction needs have come up in winter)
And you’re not paying for:
- Transport to the meeting area
- Cable car entry if you choose that descent route (+24€/person)
So this can be good value if you want Teide done properly, with safety coverage, gear support, and logistics handled for you. It can be less worth it only if you already have all the gear, you’re comfortable doing permit timing on your own, and you’re confident in winter traction needs. For most people, the package approach is the point.
My “value meter” advice: if you’d otherwise have to rent poles/insulation, or if you’d be anxious about weather and permit timing, the $199 slot becomes pretty reasonable.
Meeting point and day-of flow: don’t get lost before you start
You’ll meet outside of the barrel. And here’s the key instruction: don’t go up to the cable car station without the guide. That sounds small, but it avoids the most common day-of mix-up—arriving in the wrong place before your permit/timing plan kicks in.
Once the group assembles, the day becomes straightforward: gear up, follow the guide’s pacing, climb toward the summit when the permit window lines up, then choose the descent approach.
Who should book this hike, and who should skip
Teide Peak Hiking is not for everyone. The activity is not suitable for:
- People over 65
- People under 120 cm (under 3 ft 9 in)
- Pregnant women
- Children under 12
- People with mobility impairments
- People with high blood pressure
If you’re within the suitable range, the biggest deciding factor is your stamina and comfort with elevation and a possible difficult descent. If hiking down feels like a deal-breaker, the cable car option can change the whole day from “work” to “manageable.”
Also think about weather. If you’re prone to feeling cold, bring more warmth than you think you need. One of the strongest real-world signals from winter experiences is that you may need traction for ice/snow sections even when the trail isn’t fully covered everywhere.
Practical tips for photos, comfort, and altitude
A summit like Teide is built for photos, but you’ll get better shots if you plan for discomfort.
- Take photos in short bursts. Long standing around in wind at altitude is tiring fast.
- Use sunscreen, even in cooler weather. The combination of altitude + sun reflection can catch you off guard.
- Keep your head warm. You’ll be provided a hat, but if you run cold, consider bringing your own extra layer.
- Bring food you can actually eat while moving. Quick bites beat heavy meals when your pace is controlled by breathing.
- Don’t underestimate the descent. If you opt for hiking down, pack your legs mentally for rocky sections and long hours.
If you choose the cable car down, you’ll likely feel more fresh for the panorama and photos. If you hike down, you’ll see more of the mountain’s changes—but your evening could be late and slower.
Should you book this Teide Peak Hiking trip?
I’d book it if you want:
- A guided summit experience with an official permit
- Strong photo potential from a real high point—not a quick roadside viewpoint
- Provided gear and support, especially if you’re not sure how Teide conditions look in your travel month
- A small-group feel with languages like English, Hungarian, and Spanish
I’d think twice or choose a different option if:
- You know you struggle with longer days, fast walking pace, or big elevation changes on the return
- You fall into any of the stated non-suitable categories
- You’re hoping for an easy stroll. Even with the cable car, it’s still a serious altitude outing.
If you match the physical and weather reality, this is one of the most practical ways to reach Teide’s summit without turning your day into a logistics puzzle.
FAQ
How long is the Teide Peak Hiking experience?
The duration is 6 hours.
Does the price include the summit permit?
Yes. The booking includes an official permit to go to the peak at a certain time.
Can I choose to take the cable car down?
Yes. There is an option to take the cable car down, and it costs an additional +24€/person.
Is hiking down on foot an option?
Yes. If you don’t take the cable car, you can hike down via Montana Blanca, which is about 10 km with a 1400 m elevation change.
What’s the meeting point?
You should wait outside of the barrel. Don’t go up to the cable car station without the guide.
What should I bring?
Bring a daypack, sunscreen, passport or ID card, sportswear, warm clothing, hiking shoes, food and drinks, comfortable shoes, and water.
What equipment is provided?
You get trekking poles and a headlamp. Ankle-high hiking boots are provided if needed, and you also receive a coat, sweater, hat, gloves, and any missing equipment for the hike.
What groups is this hike not suitable for?
It’s not suitable for people over 65, people under 120 cm, pregnant women, children under 12, people with mobility impairments, or people with high blood pressure.